Download as PDF, PPTX
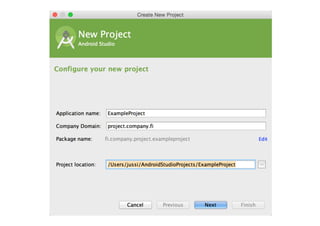
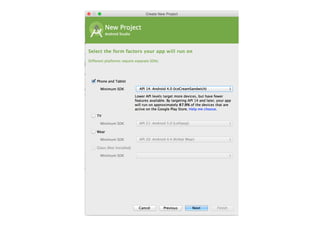

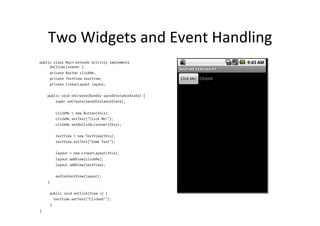

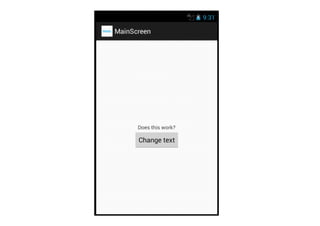


This document provides a quick introduction to Android development. It discusses Android Studio as the primary IDE for Android development and its features. It also covers templates, running apps, building UIs with code and XML, using resources and the R class, basic event handling, Logcat for viewing logs, and best practices for logging.