Use the Chat view
The Chat view is where you work with agents in Visual Studio Code while staying focused on the code in your current project. It lives alongside your editor tabs in the main VS Code window, so you can prompt an agent, review its changes, and keep writing code without leaving your workspace.
Use the Chat view when your work centers on a single project and you want to:
- Edit and review in the editor: open changed files to see inline diffs, and use the editor overlay controls to keep or undo individual edits. Learn more about reviewing AI-generated code edits.
- Debug and test: use the debugger, run tasks, and execute tests to validate the agent's changes before you commit them.
- Use extensions and notebooks: the agent has access to your installed extensions and can edit notebooks directly in the editor.
- Work remotely: if you're connected to a remote workspace, agents in the Chat view work there too, with access to the same context and tools as you have.
In this article, you learn how to open and work with agents in the Chat view. For chat mechanics that apply to both the Chat view and the Agents window — such as sending requests, adding context, and reviewing changes — see Use chat in VS Code.
The Chat view (code-first) and the Agents window (agent-first) are the main surfaces for working with agents. They share the same sessions and settings, so you can move freely between them. To switch, select the Open in Agents button in the title bar, or run code --agents. For help choosing, see Choose how you work with agents.
Prerequisites
- Visual Studio Code installed. Download VS Code.
- Access to GitHub Copilot. Follow the steps in Set up GitHub Copilot in VS Code to sign in and activate your subscription.
Open the Chat view
The Chat view opens in the Secondary Side Bar, next to your editor. To open the Chat view, use one of the following methods:
-
Select the Chat menu in the VS Code title bar, and then select Open Chat.
-
Use the keyboard shortcut ⌃⌘I (Windows, Linux Ctrl+Alt+I).
-
Run
code chatfrom the command line to start chat from outside VS Code. Learn more about starting chat from the command line.
Layout options
The Chat view offers several layout options within the main VS Code window. Choose the layout that best fits your workflow:
-
Side bar (default): select New Chat (+) > New Chat, or run the Chat: New Chat command. Best for keeping chat visible alongside your code.

-
Editor tab: select New Chat (+) > New Chat Editor, or run the Chat: New Chat Editor command. Best for giving chat more space or comparing sessions side by side.

-
Separate window: select New Chat (+) > New Chat Window, or run the Chat: New Chat Window command. Best for multi-monitor setups.

Interface overview
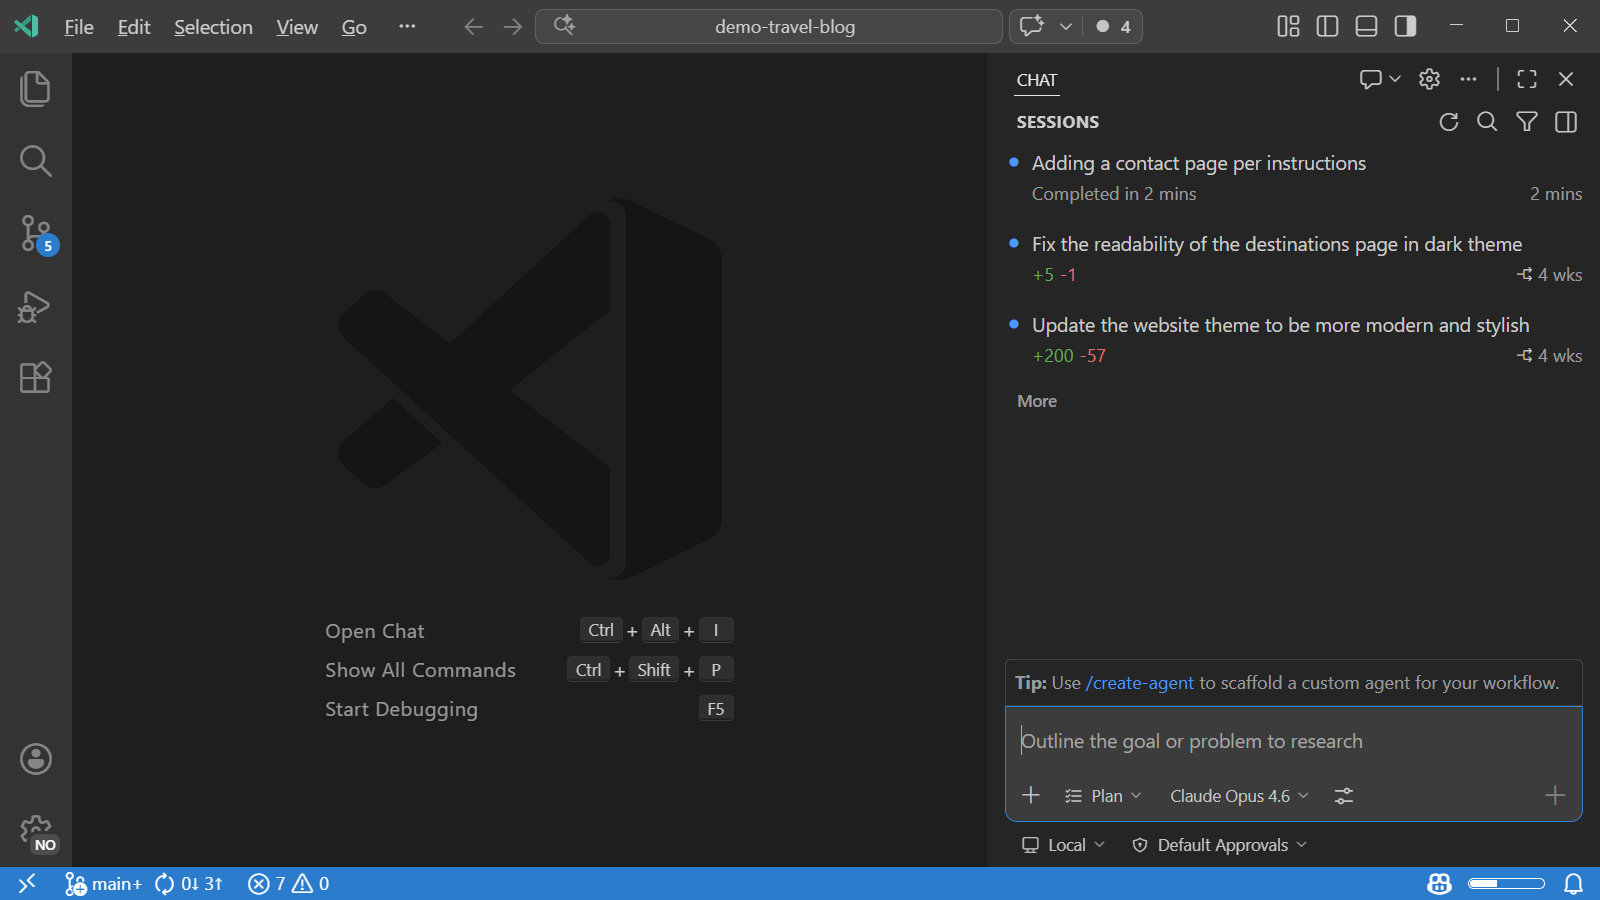
The Chat view keeps the agent next to your code, so you can prompt, review, and edit in the same window. The Chat view has the following main areas:
-
Sessions list: at the top of the view, where you can view and manage your sessions for the current workspace. Learn more about the sessions list.
-
Chat conversation: in the center, where you see the conversation history and the agent's responses, including the changes it makes to your code.
-
Chat input: at the bottom, where you type prompts and configure the session with the agent target, agent, language model, and permission pickers.

The Chat view operates in two modes: compact and side-by-side. Use the toggle control in the top-right corner of the Chat view to switch between them. In compact mode, the sessions list and conversation share the same panel. In side-by-side mode, the sessions list stays visible next to the conversation. Learn more about sessions list layout options.
Start a session
To start a new session, select New Chat (+) or press ⌘N (Windows, Linux Ctrl+N). Before you send your first prompt, use the controls in the chat input area to choose an agent target, agent, language model, and permission level. You can adjust these at any time during a session. Learn more about configuring your agent session.

Type a prompt and press Enter to start. The agent breaks down your task into steps, edits files in your workspace, runs commands, and self-corrects when something goes wrong. Learn more about managing chat sessions.
Work with the agent
After you send a prompt, the agent works through the task step by step. Because the Chat view lives inside the main VS Code window, you can interact with the agent's changes using the full editor experience.
-
Review edits in the editor: the agent edits files directly in your workspace. Open a changed file to see an inline diff of the applied changes, and use the editor overlay controls to keep or undo individual edits. Learn more about reviewing AI-generated code edits.
-
Follow terminal activity: when the agent runs shell commands, such as installing dependencies or running a build, the commands execute in the integrated terminal. You can see the output in real time and intervene if needed.
-
Debug and test: use the VS Code debugger, run tasks, and execute tests to validate the agent's changes before you commit them. This is a key advantage of working in the Chat view, where the full editor tooling is always available.
-
Use extensions and notebooks: the agent has access to your installed extensions and can work with notebooks directly in the editor.
You can open chat in an editor tab, a separate window, or maximized for more space. Learn more about the Chat view layout options.
Next steps
- Chat overview - add context, write effective prompts, and review changes.
- Manage chat sessions - organize, archive, and fork sessions.
- Use the Agents window - work with agents across multiple projects.